Last Modified : Thursday, April 11, 2024
By now we all are familier with Mistral-7b. The open source model which is beat ChatGPT (gpt-3.5-turbo) in performence.
In this blog you will learn how to use it on M1 Mac with Ollama

Table of content
Ollama
With Ollama you can easily run large language models locally with just one command. By default ollama contains multiple models that you can try, alongside with that you can add your own model and use ollama to host it - Guide for that.
How to install Ollama on M1 Mac
Head over to Ollama.com and Click on Download button, then click on Download for macOS.
NOTE: Ollama requires macOS 11 Big Sur or laterA zip file will be downloded, then follow the installation steps.
To verify if ollama is installed or not run the following command
ollama
Your termial will display the information about ollama command
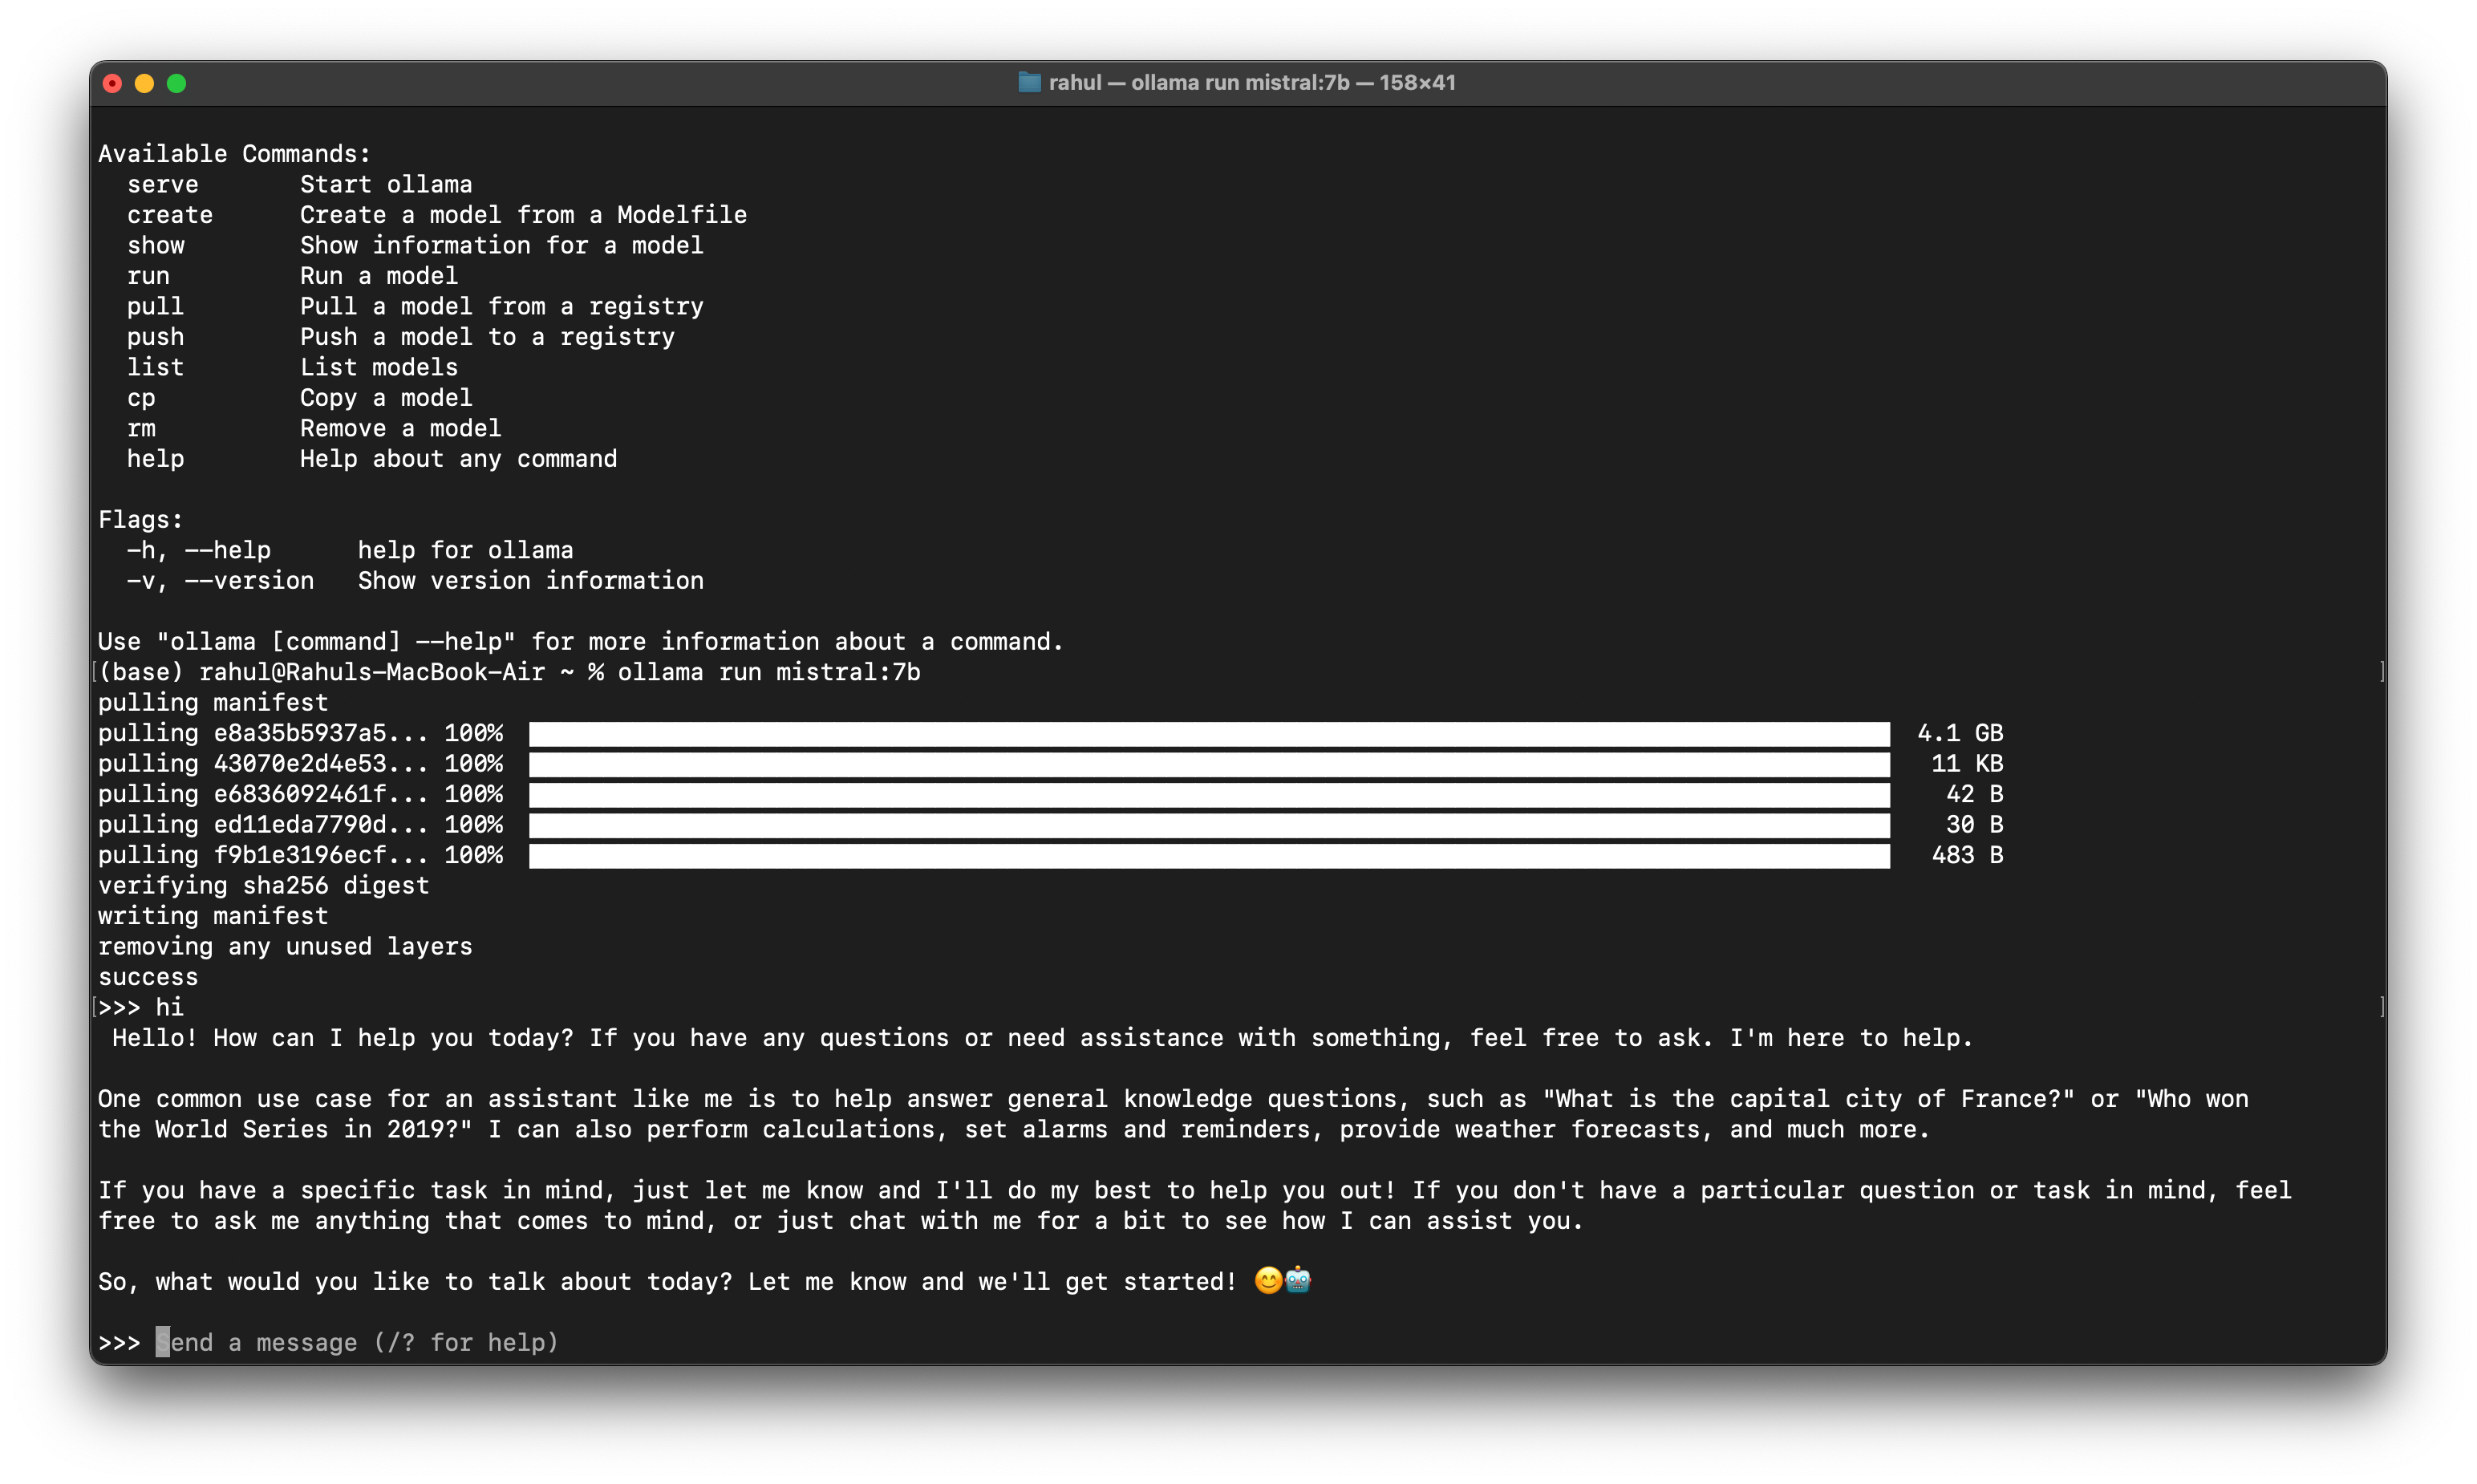
Once Downloded and everything is steup, run the following command to install mistral-7b
ollama run mistral:7b
Ollama will extract the model weights and manifest files for mistral to run
After running above and after installing all the dependencies you will see a placeholder as send a message, now you can start chating with mistral-7b.
Using Mistral and Ollama with python
Now that you have mistral-7b running on your macOS, now you can test it with curl command as below
curl -X POST http://localhost:11434/api/generate -d '{
  "model": "mistral:7b",
  "prompt":"Hi, tell me about yourself."
 }'
Also here is a postman request json, you can use this to make api request through postman or thunderclient
Postman requesy JSON
{
    "client": "Thunder Client",
    "collectionName": "themultomodel.com",
    "dateExported": "2024-04-11T08:26:07.914Z",
    "version": "1.1",
    "folders": [],
    "requests": [
        {
            "_id": "784770af-d3fb-4843-b398-3cde3f743058",
            "colId": "eae9bcab-51b5-4482-86b1-12d5c84491de",
            "containerId": "",
            "name": "mistral-with-ollama",
            "url": "http://localhost:11434/api/generate",
            "method": "POST",
            "sortNum": 10000,
            "created": "2024-04-11T08:25:07.449Z",
            "modified": "2024-04-11T08:25:07.449Z",
            "headers": [],
            "params": [],
            "body": {
                "type": "json",
                "raw": "{  \"model\": \"mistral:7b\",\n  \"prompt\":\"Hi, tell me about yourself.\"}",
                "form": []
            },
            "tests": []
        }
    ]
}
Python code
With this python code you can make api request to ollama mistral and get proper response
import requests
import json

def generate_response(prompt):
    url = "http://localhost:11434/api/generate"
    payload = {
        "model": "mistral:7b",
        "prompt": prompt
    }
    try:
        response = requests.post(url, json=payload)
        response.raise_for_status()

        # Split the response by newline characters and parse each JSON object
        response_data = [json.loads(line) for line in response.text.strip().split("\n") if line.strip()]

        # Extract the "response" field from each JSON object and concatenate into a single string
        generated_response = " ".join(data.get("response", "") for data in response_data)

        # Replace double spaces with single spaces for proper formatting
        generated_response = " ".join(generated_response.split())

        return generated_response
    except requests.exceptions.RequestException as e:
        return f"Error: {e}", 500

response = generate_response("Hi, tell me about yourself")
print("Response:", response)
After running this code you will see following output.

Conclusion
This is a very simple introduction on how to use it on macOS. We are clearly seeing a trend where more people are intrested in running LLM's on their own machine.
Now you also know how to do it on your macOS.